Why You’ll Love This Black Forest Cake Recipe
Why will you love this Black Forest Cake recipe? It’s a delightful blend of rich chocolate, sweet cherries, and fluffy whipped cream that’ll make your taste buds dance.
Each layer is soaked in cherry liqueur, adding a luxurious touch that elevates this dessert beyond the ordinary. I adore how simple it’s to make yet impressively gorgeous when finished.
Plus, the combination of textures—from moist cake to creamy frosting and juicy cherries—creates an unforgettable experience.
Whether it’s a celebration or a cozy night in, this cake will surely be the star of the show. You won’t want to miss this treat!
Ingredients of Black Forest Cake
When it comes to baking a Black Forest Cake, the ingredients are just as important as the technique. This dessert is a beautiful blend of flavors and textures that come together to create something truly special. Before diving into the baking process, you’ll want to gather everything you need.
It’s always a good idea to double-check your pantry and fridge to make sure you have all the ingredients on hand. Nothing like getting halfway through a recipe only to realize you’re out of cherry liqueur—that’s a real party foul.
So, let’s get to the good stuff. Here’s what you’ll need to whip up this delicious cake.
Ingredients:
- 1 2/3 cups all-purpose flour
- 1 1/2 cups white sugar
- 2/3 cup unsweetened cocoa powder
- 1 1/2 teaspoons salt
- 1 1/2 cups buttermilk
- 1/2 cup shortening
- 2 eggs
- 1 teaspoon vanilla extract
- 1/2 cup cherry-flavored liqueur (like Kirschwasser)
- 1 cup powdered sugar
- 1 pinch salt
- 1 (1/2 liter) can pitted cherries, drained (or cherry pie filling)
- 1 cup whipped cream
- 1/2 teaspoon vanilla extract
- 1 tablespoon cherry-flavored liqueur (for the whipped cream)
- 1 semi-sweet chocolate baking square (for decoration)
Now, let’s talk about a few things to take into account when gathering your ingredients. First off, if you’re not a huge fan of buttermilk, you can easily make your own by mixing milk with a splash of vinegar or lemon juice. It’s a little kitchen hack that works wonders.
And if you can’t find cherry-flavored liqueur, don’t sweat it—just use a different fruit liqueur or even some cherry juice for a non-alcoholic twist. Also, for the cherries, fresh is great if they’re in season, but canned or pie filling works just as well.
Honestly, baking should be fun, not stressful, so take some liberties with these ingredients. Just imagine the joy of slicing into this cake, revealing those beautiful layers, and savoring that rich chocolate paired with those sweet cherries. It’s a slice of heaven, trust me.
How to Make Black Forest Cake
Alright, let’s plunge into the delicious process of making a Black Forest Cake. First things first, preheat your oven to 350°F. This is super important because you want your cake to bake evenly, not turn into a flat pancake.
While the oven is warming up, grab those two 8-inch round pans and grease the bottoms. Trust me, you don’t want your masterpiece to stick to the pan—it’s a real heartbreaker when that happens.
Now, it’s time to mix things up. In a bowl, sift together 1 2/3 cups of all-purpose flour, 2/3 cup of unsweetened cocoa powder, and 1 1/2 teaspoons of salt. Set that aside, and in another bowl, cream together 1/2 cup of shortening and 1 1/2 cups of white sugar until it’s light and fluffy. It should feel almost like a cloud.
Then, add in 2 eggs, one at a time, and a teaspoon of vanilla extract, beating well after each addition. Now comes the fun part: alternate adding your flour mixture and 1 1/2 cups of buttermilk into the batter, mixing until it’s all combined.
Pour this rich chocolatey goodness into your prepared pans and pop them in the oven for about 35-40 minutes. You’ll know they’re ready when a toothpick inserted into the center comes out clean.
Once the cakes are baked to perfection, let them cool for a bit before you start slicing each layer in half horizontally. You’ll end up with four glorious layers!
Here’s where you can get creative: sprinkle the layers with 1/2 cup of cherry-flavored liqueur, like Kirschwasser, to really soak them in that cherry goodness.
Now, whip up 1 cup of cream until it reaches stiff peaks. Add in 1/2 teaspoon of vanilla and a tablespoon of that cherry liqueur, along with 1 cup of powdered sugar and a pinch of salt. Mix until everything is combined and heavenly.
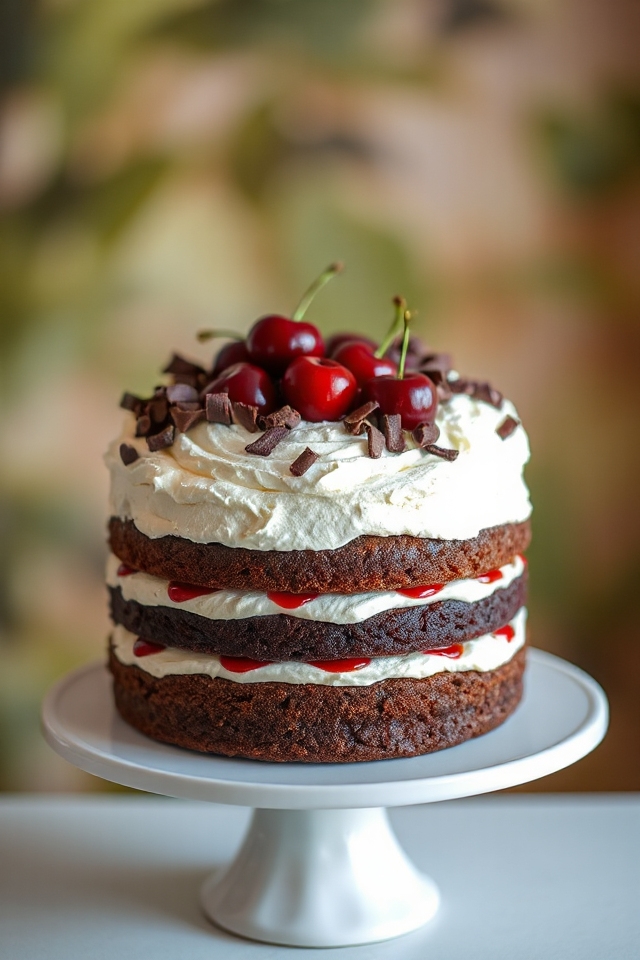
Spread 1/3 of this whipped cream mixture on the first layer, top it with 1/3 of your cherries, and repeat this process with the remaining layers.
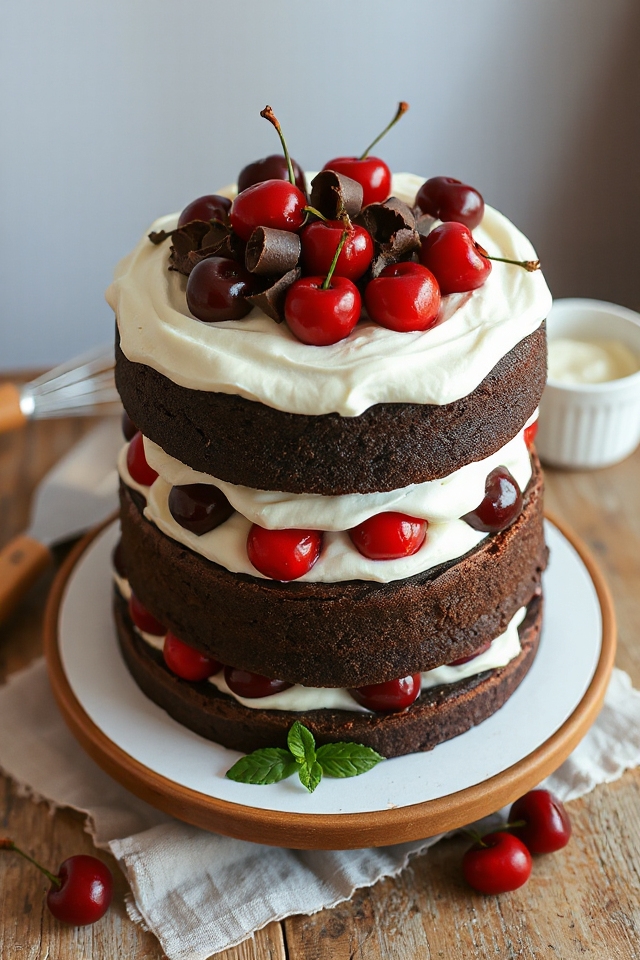
Once you’ve stacked them all up, frost the top and sides of your cake with the remaining whipped cream, and don’t forget to sprinkle some chocolate curls on top, made from that semi-sweet chocolate baking square.
Just imagine cutting into that cake, with all those layers of chocolate and cherries—pure bliss. Enjoy every bite!
Black Forest Cake Substitutions & Variations
Whether you’re looking to customize your Black Forest Cake or simply want to use what you have on hand, there are plenty of substitutions and variations to explore.
For the flour, I’ve used cake flour for a lighter texture. If you don’t have buttermilk, regular milk mixed with a splash of vinegar works just fine.
Instead of cherries, you can try raspberries or strawberries for a different twist. I’ve even swapped the liqueur with almond extract.
Want a healthier version? Use Greek yogurt instead of whipped cream. There’s no limit to how you can make this cake your own!
Additional Tips & Notes
A few key tips can elevate your Black Forest Cake to the next level.
First, make sure your ingredients are at room temperature for better mixing.
For an extra moist cake, don’t skip soaking the layers with cherry liqueur.
If you’re short on time, using store-bought whipped cream works in a pinch.
When it comes to decorating, chocolate curls add a beautiful touch; I find it easiest to use a vegetable peeler on room-temperature chocolate.
Finally, let your cake sit for a few hours (or overnight) to allow the flavors to meld.
Trust me, it’s worth the wait!