Why You’ll Love This Ice Cream Cake Recipe
If you’re looking for a dessert that’s both indulgent and fun to make, you’ll absolutely love this ice cream cake recipe.
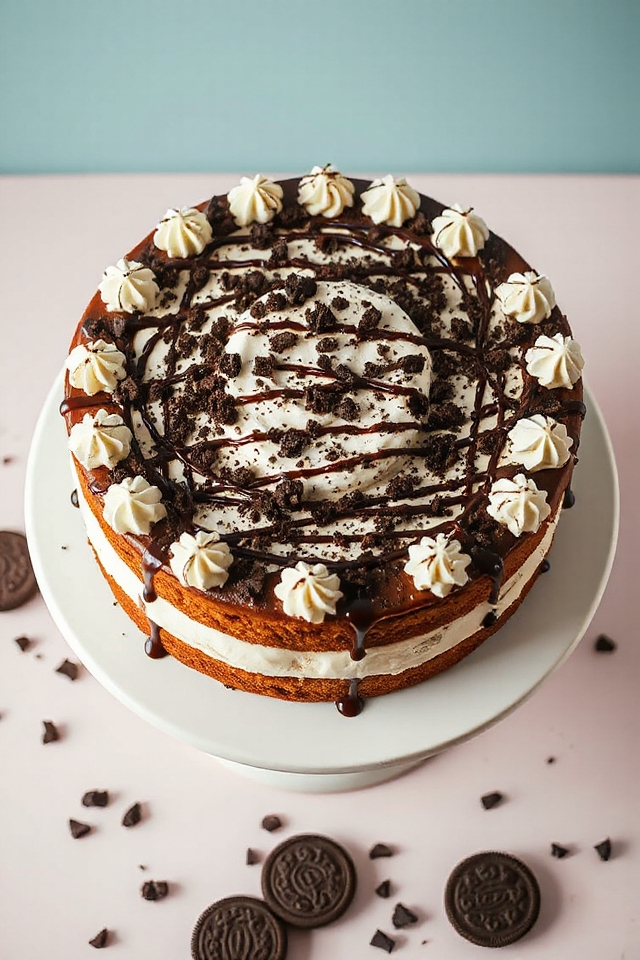
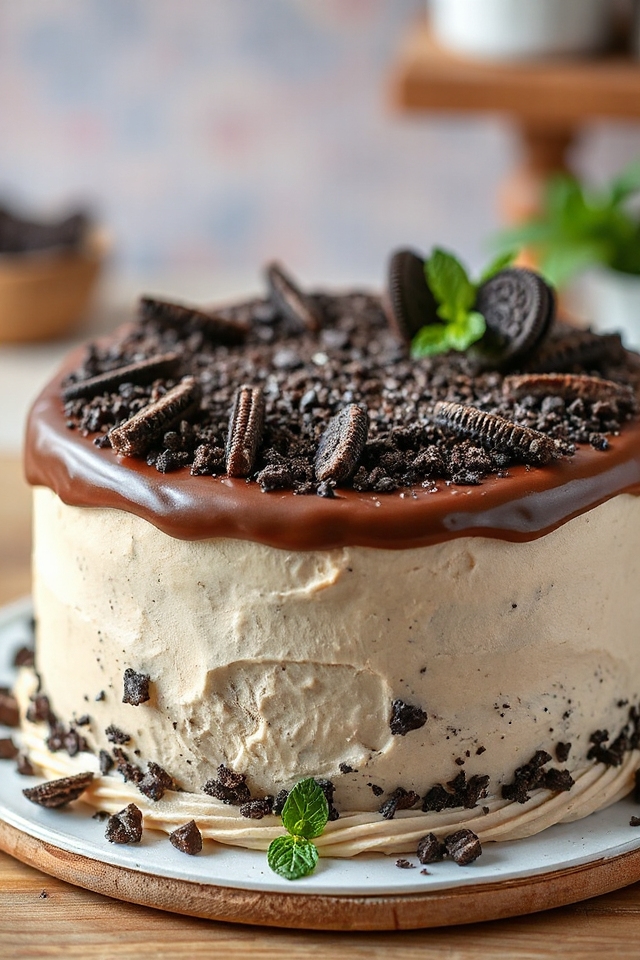
It’s a perfect combination of creamy ice cream and crunchy Oreo crust that brings joy to any occasion.
I love how easy it’s to customize with your favorite flavors and toppings, making it uniquely yours.
Plus, it’s a showstopper that impresses friends and family alike.
The layers create a delightful texture, and the cold treat is perfect for hot days.
Believe me, once you try it, you’ll want to make it again and again!
Ingredients of Ice Cream Cake
When it comes to making a delicious ice cream cake, the ingredients you choose are key to creating that perfect blend of flavors and textures. This isn’t just any dessert; it’s a celebration in every bite.
Whether you’re a chocolate lover, a vanilla enthusiast, or someone who can’t resist the combo of both, this recipe has you covered. So, roll up your sleeves, and let’s explore what you’ll need to whip up this delightful treat.
Ingredients for Ice Cream Cake:
- 1 3/4 quarts of ice cream (any flavor you love)
- Another 1 3/4 quarts of ice cream (mix it up if you’re feeling adventurous)
- 48 Oreo cookies
- 1 (7 1/4 ounce) bottle of turtle shell ice cream topping
- 2 tablespoons of butter
- 16 ounces of icing (choose your favorite flavor or color)
Now, let’s talk about some fun considerations regarding these ingredients. When it comes to ice cream, the sky’s the limit! You can use classic flavors like chocolate or vanilla, or get creative with something like mint chocolate chip or cookie dough.
And if you’re feeling wild, why not mix a couple of flavors in there? The Oreo cookies provide that crunchy base we all crave, but you could also experiment with other cookies if you’re feeling rebellious.
Just keep in mind, the turtle shell topping adds a delightful sweetness, so choose your ice cream flavors accordingly. And icing? Oh, it’s like the cherry on top, but for a cake—totally optional, yet oh-so-fun for decorating!
How to Make Ice Cream Cake
Ready to set out on a sweet adventure? Making your very own ice cream cake isn’t just a fun project; it’s a delightful way to bring smiles to faces. So, let’s get those hands messy and plunge into the how-to of creating this delicious masterpiece.
First, grab yourself a 1-foot diameter pan and line it with tin foil. This is super important because nobody wants a cake that sticks to the pan like a stubborn piece of gum on a shoe. Start by placing your pot upside down on a sheet of tin foil, wrapping the bottom, and cutting out a circle that’s about 1 centimeter larger than the pot itself. Trust me, this little step is going to save you a lot of frustration later.
After placing that circle at the bottom of the pot, continue lining the sides. Leave some foil hanging over the edges; this is your cake’s future lifeline, helping you get it out later.
Now let’s talk crust. Take 1.5 rows of those 48 Oreo cookies and crush them into fine crumbs in a Ziploc bag—it’s oddly satisfying, kind of like stress relief. Melt 2 tablespoons of butter and mix it with the crushed Oreos until it’s all moistened and feels like wet sand. You could even sprinkle in a couple of shakes of that turtle shell ice cream topping for a little extra pizzazz.
Spread this mixture evenly in the bottom of your lined pot, pressing down firmly until it’s about 1 centimeter thick. Drizzle a tiny bit more of that turtle topping on top of the crust, just to tease your taste buds, and stick it in the freezer for about 8 minutes.
Once the crust is set, pour in your first tub of melted ice cream—1 3/4 quarts of your chosen flavor—and spread it out evenly. Pop that back in the freezer for about an hour and a half while you daydream about all the deliciousness to come.
When that layer is solid, it’s time to crush the remaining Oreos (the middle row and a third of the last row) and sprinkle them over the ice cream. Apply a little pressure for good measure, drizzle on more turtle topping, and freeze it for another 30 minutes. If the bottom half feels solid enough, you can layer in your second tub of ice cream. Once it’s all packed in, freeze it overnight, or until it’s rock solid.
When you’re ready for the grand reveal, flip the pot upside down and gently pull on those foil edges. It’s like unwrapping a surprise gift. Remove the foil from the bottom first, then the sides, and voilà! Your cake is ready for its crowning glory.
Crush up the remaining Oreos and sprinkle them on top, then drizzle that remaining turtle shell topping in a zig-zag pattern. Finish it off with some icing scallops around the edges, and give it a little freeze for about 10 minutes.
There you have it—your very own ice cream cake, ready to wow your friends and family. Just remember, the only thing better than making it’s devouring it. Enjoy!
Ice Cream Cake Substitutions & Variations
Now that you’ve mastered the basics of making an ice cream cake, let’s explore some fun substitutions and variations to personalize your dessert.
Want a different crust? Try crushed graham crackers or even chocolate chip cookies instead of Oreos.
For the ice cream layers, mix and match flavors—vanilla with strawberry or mint chocolate chip can be delicious! You can also layer in fresh fruit or candy pieces for added texture.
If you’re feeling adventurous, drizzle caramel or chocolate sauce between layers.
And don’t forget about food coloring for your icing; it can really make your cake pop!
Enjoy experimenting!
Additional Tips & Notes
To guarantee your ice cream cake turns out perfectly, I recommend preparing all ingredients ahead of time.
Make sure to let your ice cream soften slightly before spreading; it’ll make layering much easier. If you’re using different flavors, try to freeze each layer thoroughly before adding the next one.
For a cleaner slice, use a warm knife to cut through the cake. If you want to get creative, consider adding fruit or nuts between layers for extra texture.
Finally, don’t forget to let your cake sit at room temperature for a few minutes before serving; it makes for a creamy delight!